Home > Blog posts > How do roofers renovate a flat roof?
How do roofers renovate a flat roof?
Who hasn’t already tried to get on their roof to plug a leak, right?
We see you out there…
Temporary repairs often result in permanent damage if they are not done properly!
And that’s the subject of this article: How do roofers completely renovate a flat roof when the repair is no longer possible?
Here are the steps for a complete renovation from A to Z!
Risk assessment and installation of safety equipment
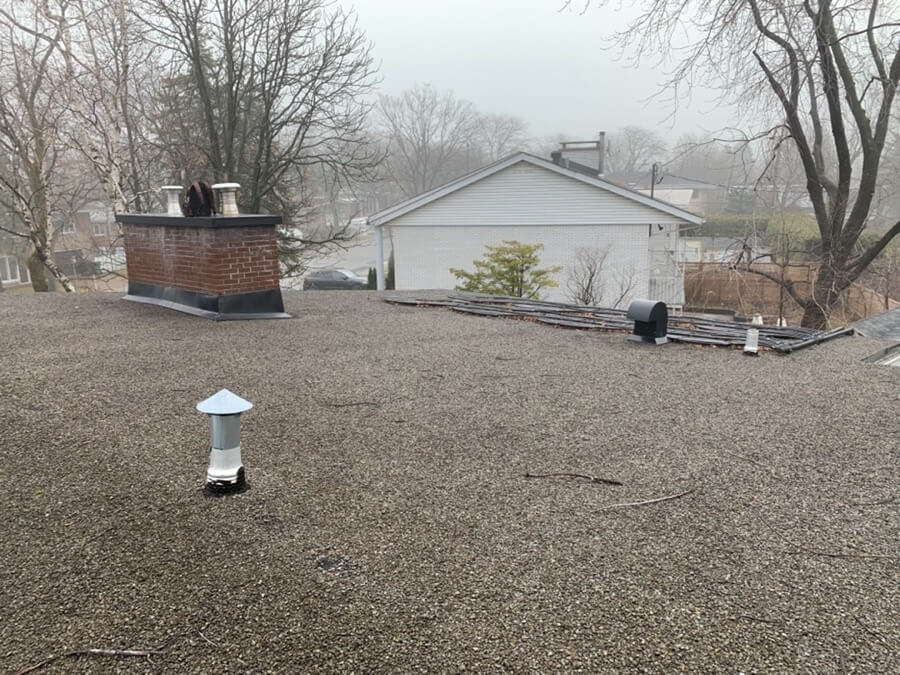
As with any work, it is important to secure the area to limit the risk of falling, and fall protection devices will be installed to prevent workers from sliding off the roof.
But installing barriers is not enough to eliminate all risk of danger. It is important to determine the direction of movement of workers, the location of tools, and to install walkways in areas where the covering is more fragile, etc.
As you can see, it is not enough to climb on the roof to carry out work; a roofer must work in a safe environment.

Demolition of the existing roof covering
The replacement of an elastomeric membrane, TPO membrane or EPDM membrane must be done carefully so as not to damage either the roof or what is on it.
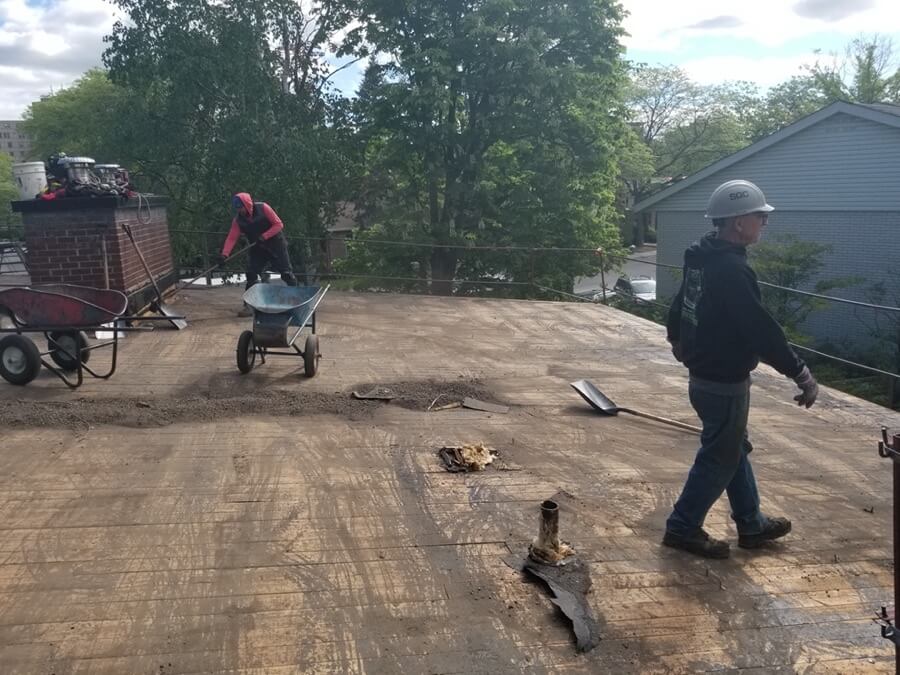
First, all metal accessories and flashings should be removed. Then, all that remains to be done is to clear the roof (membrane and wood decking) before disposing of it in an appropriate manner. And did you know that these membranes (TPO and EPDM) are fully recyclable?
Removal of insulation and vapour barrier for “warm” roofs
The next step is to remove the insulation and vapour control layer for warm type roofs; however, if the re-roofing is for a ventilated roof, you will find the insulation under the structural decking.
Checking the condition of the existing structure
Before proceeding with the work, a flat roofer should make sure to check the condition of the existing structure. If the attic is in good general condition, a simple cleaning will suffice.
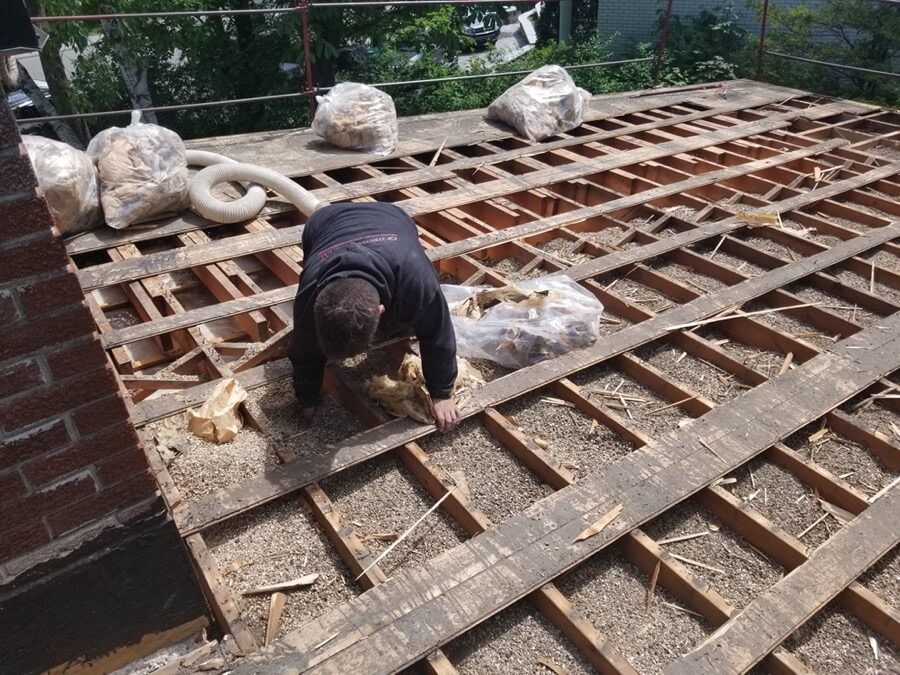
However, if the attic is not usable due to, for example, a lack of insulation or a lack of air space, it will have to be demolished and a new one built. However, it is possible to remove the wood, insulate and install new plywood to improve the insulation.
If the problem is simply inadequate ventilation, a minimum 2% slope can be created by raising the decking to solve the problem.
Cleaning and debris removal
To prevent debris from getting under the new roof or damaging the membrane, a roofer must ensure that the roof is thoroughly cleaned before the new structure is installed.
Construction of the new structure/deck
Once the inspection has been completed, the old membrane removed and the cleaning done, it is time to proceed with the construction of the replacement structure or deck.
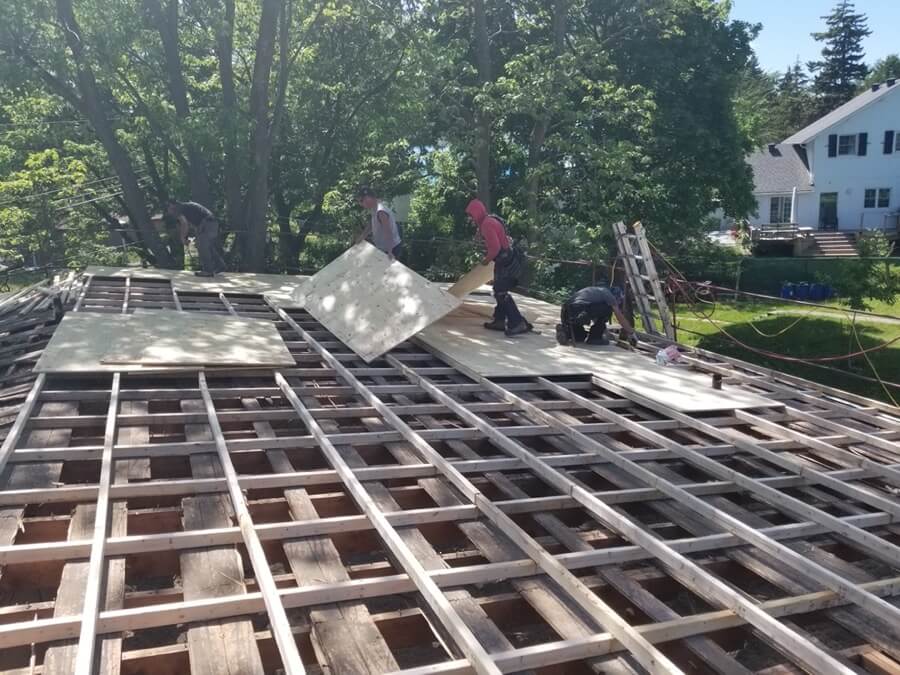
Urethane attic insulation
Urethane is an excellent product for insulation and as a vapour control layer. But depending on the type of roof, the insulation will be done differently:
- If the roof is ventilated, the attic must be insulated,
- If, on the other hand, it’s a warm roof, then the insulation must be carried out at the deck level.
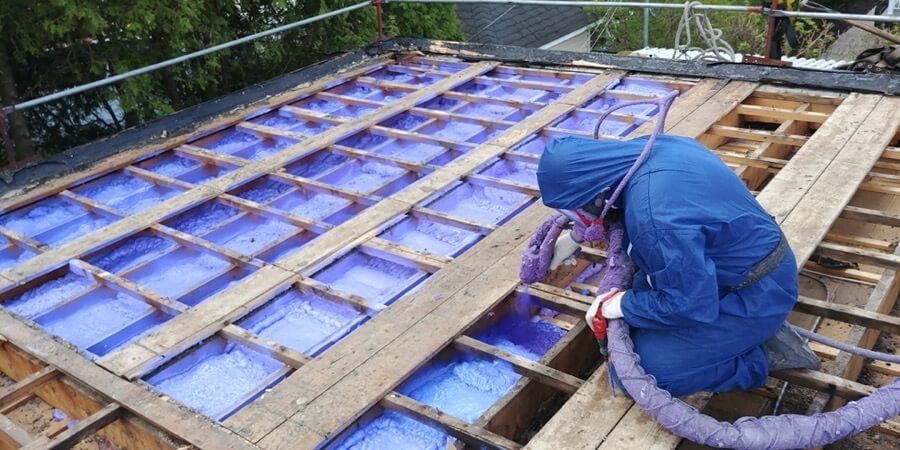
Creating an air corridor between the insulation and the top of the deck
It is important to create an air gap between the insulation and the top of the decking to avoid potential problems of condensation, overheating of the roof space and premature wear of the roof covering, among others.
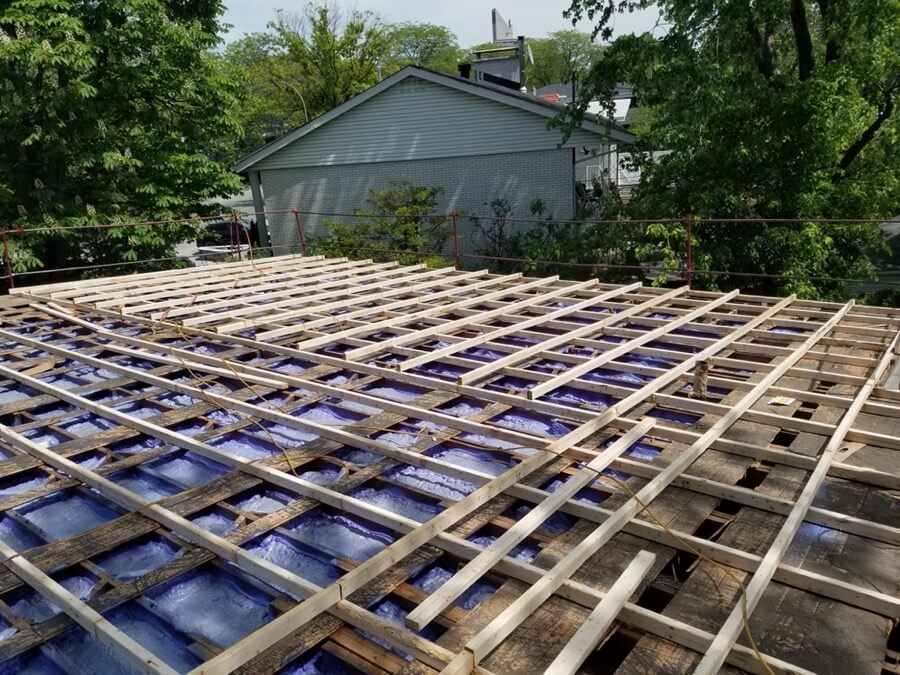
Installing the plywood boards
Once the above steps have been completed, the roofing contractor is ready to install the plywood boards, which are more durable than wood fibre boards.
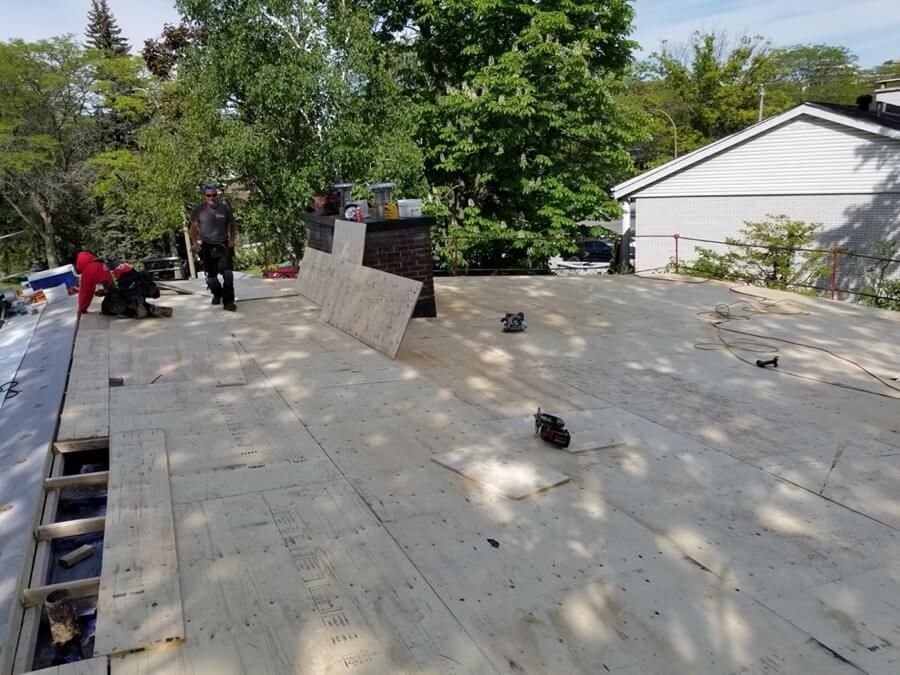
Replacing existing accessories with new accessories
Roofers must also replace the various accessories that were on the roof, such as attic ventilators, goosenecks, plumbing vents, commercial strainer drain, etc.
They will also ensure that new materials are used, so that these do not have to be replaced in the short term, and you will be sure to have accessories that meet current standards.
Installation of support panels
The support panels ‘close’ the roof and reinforce the roof structure. Once this step is complete, roofers can then proceed with the installation of the membrane.
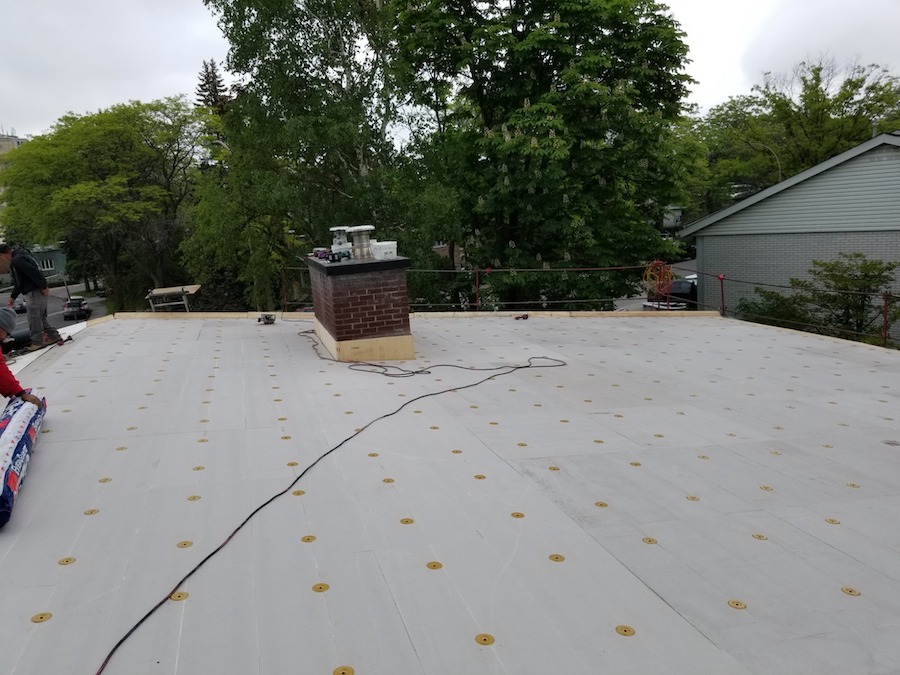
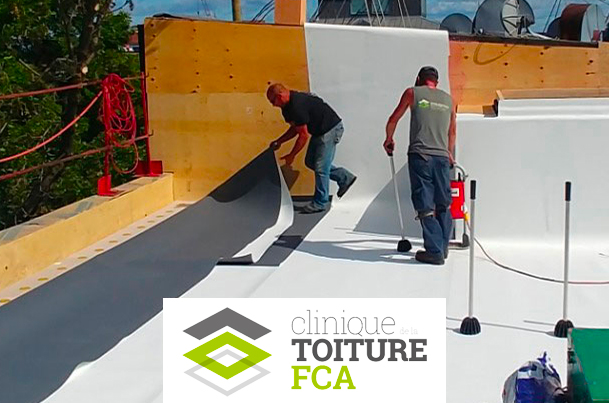
Installation of the single-ply membrane
Regardless of the type of single-ply membrane that will be installed, the installation must be done properly to avoid tearing the membrane and to ensure that it is perfectly waterproof.
The following 2 steps are also of major importance in the waterproofing of the membrane.
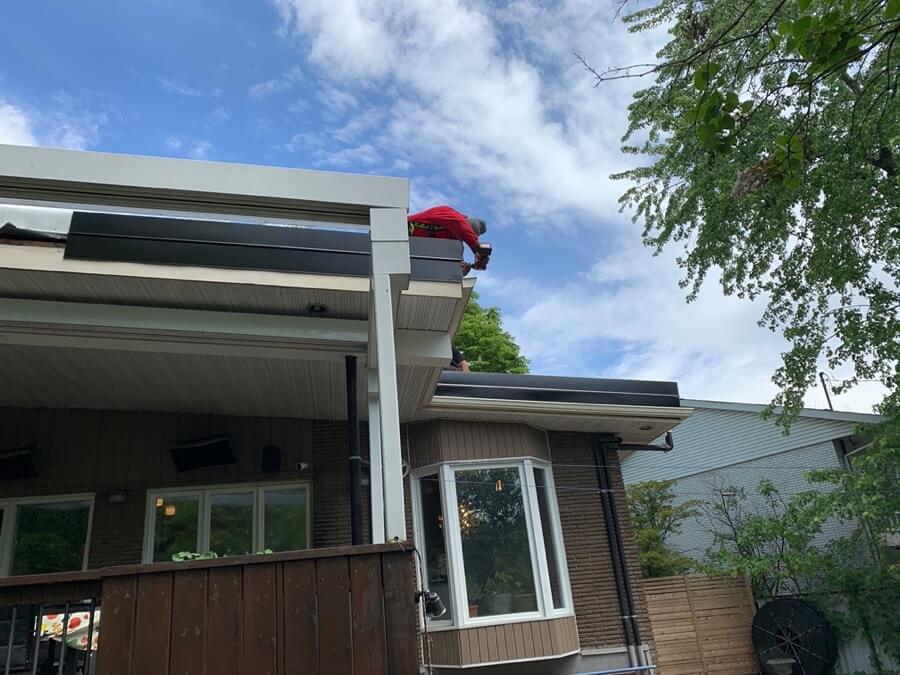
Installation of new metal flashing around the roof, chimneys and other accessories
These items must be installed carefully to avoid damage to the newly installed membrane.
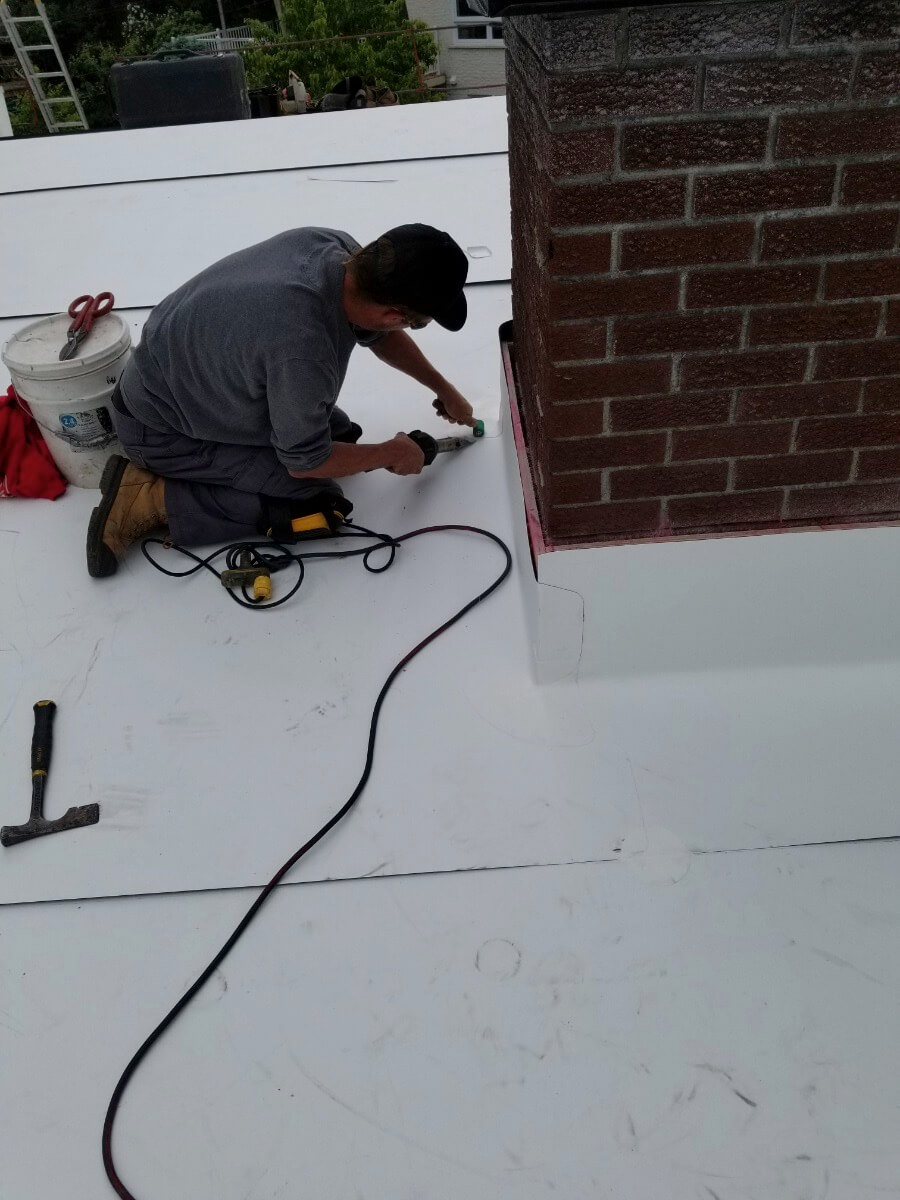
Sealing the joints between each strip and around flashings, drains and vents
The final – and perhaps most important – step is to seal the joints so that the membrane is completely watertight. Indeed, even the smallest amount of seepage could have catastrophic consequences not only on the roof, but also lead to run-off and mould problems throughout the building.
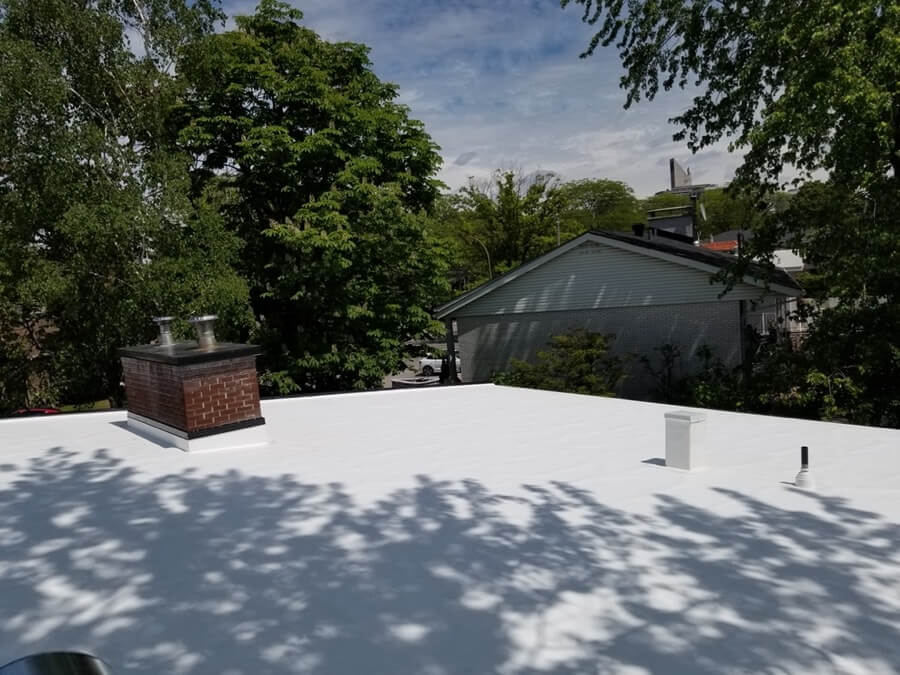
As you have seen, renovating a flat roof completely requires many steps and should be left to professionals. This way, you can be sure that the job has been done right!
Need help?
Leave us your email address and we will contact you as soon as possible to assess your needs!
Put an end to your water infiltration your clogged drains your roof problems
Leave us your email address and we will contact you as soon as possible to assess your needs!
